How To Wax a Car Like a Pro in 3 Steps

Picture this: a gleaming car with a paint job that looks brand new, protected from the harsh elements, and causing heads to turn as it glides down the road. Waxing your car may seem like a daunting task, but it can actually be a simple and rewarding process that will keep your vehicle looking its best for years to come. Waxing your car is an important step in maintaining your vehicle’s appearance and keeping the paint job protected from environmental elements such as UV rays, acid rain, and debris. In this blog post, we’ll guide you on how to wax your car like a pro in just three easy steps. We’ll also provide some helpful tips and tricks to ensure that you get the job done perfectly every time.
Step 1: Wash and Dry Your Car
Before you can start waxing your car, it’s essential to wash and dry it thoroughly. This step is a very important part of preparing your vehicle because it will ensure that the wax adheres properly. If you don’t thoroughly clean the surface of your car, applying a layer of wax could trap dirt or debris underneath, which can create scratches and other damage.
To wash your car, fill up a bucket with soapy water. Next, use a sponge, brush, rag, or other cleaning tool to scrub the car, making sure to get all the dirt and grime off. Once you’ve thoroughly cleaned the surface, rinse it off using a hose. While you’re rinsing, make sure that no soap residue is left behind. Finally, use a microfiber cloth to dry the vehicle and prevent water spots from forming.
Step 2: Apply Wax to the Car’s Surface
Once your car is clean and dry, it’s time to apply the wax. There are two types of wax that you can use: liquid and paste. Liquid wax is easier to apply, making it the perfect choice for beginners. Paste wax, however, is more durable and provides a better shine. You can choose whichever wax you prefer, depending on your needs and experience.
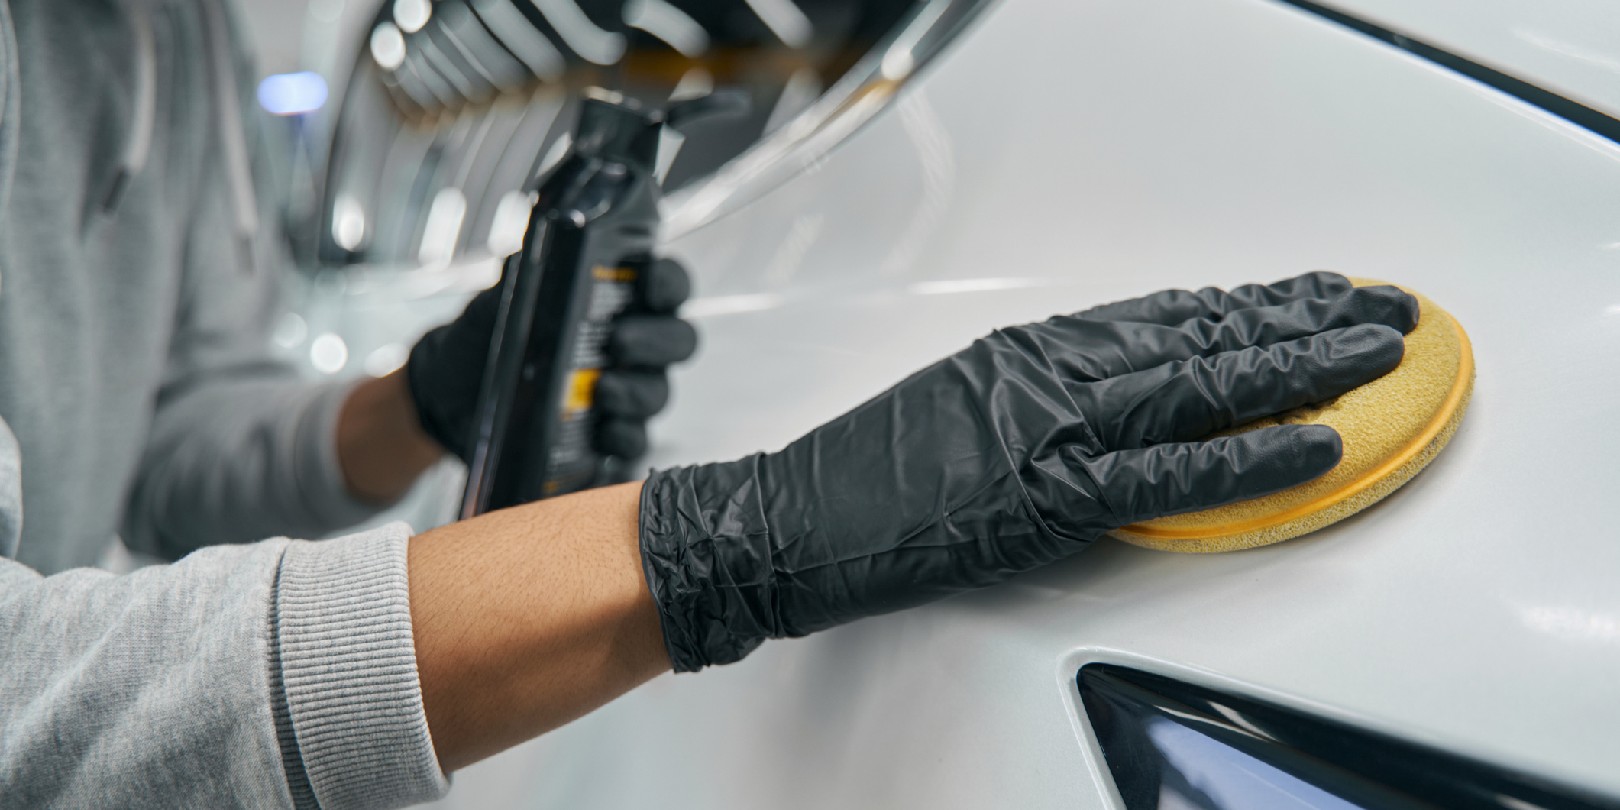
To apply the wax, start by using a foam applicator pad or a microfiber towel. Apply a small amount of wax to the pad or towel and start working it into the car’s surface using circular motions. Make sure to apply the wax evenly, working one section of the car at a time. Let the wax dry for the amount of time listed by the instructions on the container. Depending on the type of wax you use as well as how thickly you apply it, it could take anywhere from a few minutes to a couple of hours to fully cure.
Step 3: Buff the Car
After the wax has dried, it’s time to buff the car. Buffing refers to the process of removing the dried wax from the surface of the vehicle in order to leave behind a shiny, smooth finish. To properly buff your car, use a microfiber towel or a buffing pad attached to a drill. Buff the surface of the car with circular motions, making sure to remove all the wax from each area as you move along. This step is crucial as any remaining wax on the car’s surface can attract dirt and debris, which will dull the shine.
Tips for Waxing Your Car Like a Pro
To make sure you get the best results possible, here are a few things to keep in mind when waxing your car:
- Always use a clean and dry microfiber towel or applicator pad to apply the wax
- Work in the shade or in a cool area to prevent the wax from drying too quickly
- Use a wax that is specifically designed for your car’s paint colour
- Apply multiple thin coats of wax rather than one thick coat for a more even finish
- Don’t forget to wax the headlights, taillights, and other plastic parts to protect them from UV rays
Conclusion
Waxing your car like a pro can be accomplished in just three simple steps. By washing and drying your car, applying wax, and buffing it, you can achieve a shiny, smooth finish that protects your car’s paint job and makes it look like new. With these tips, you can ensure that your car looks great and stays protected for years to come.